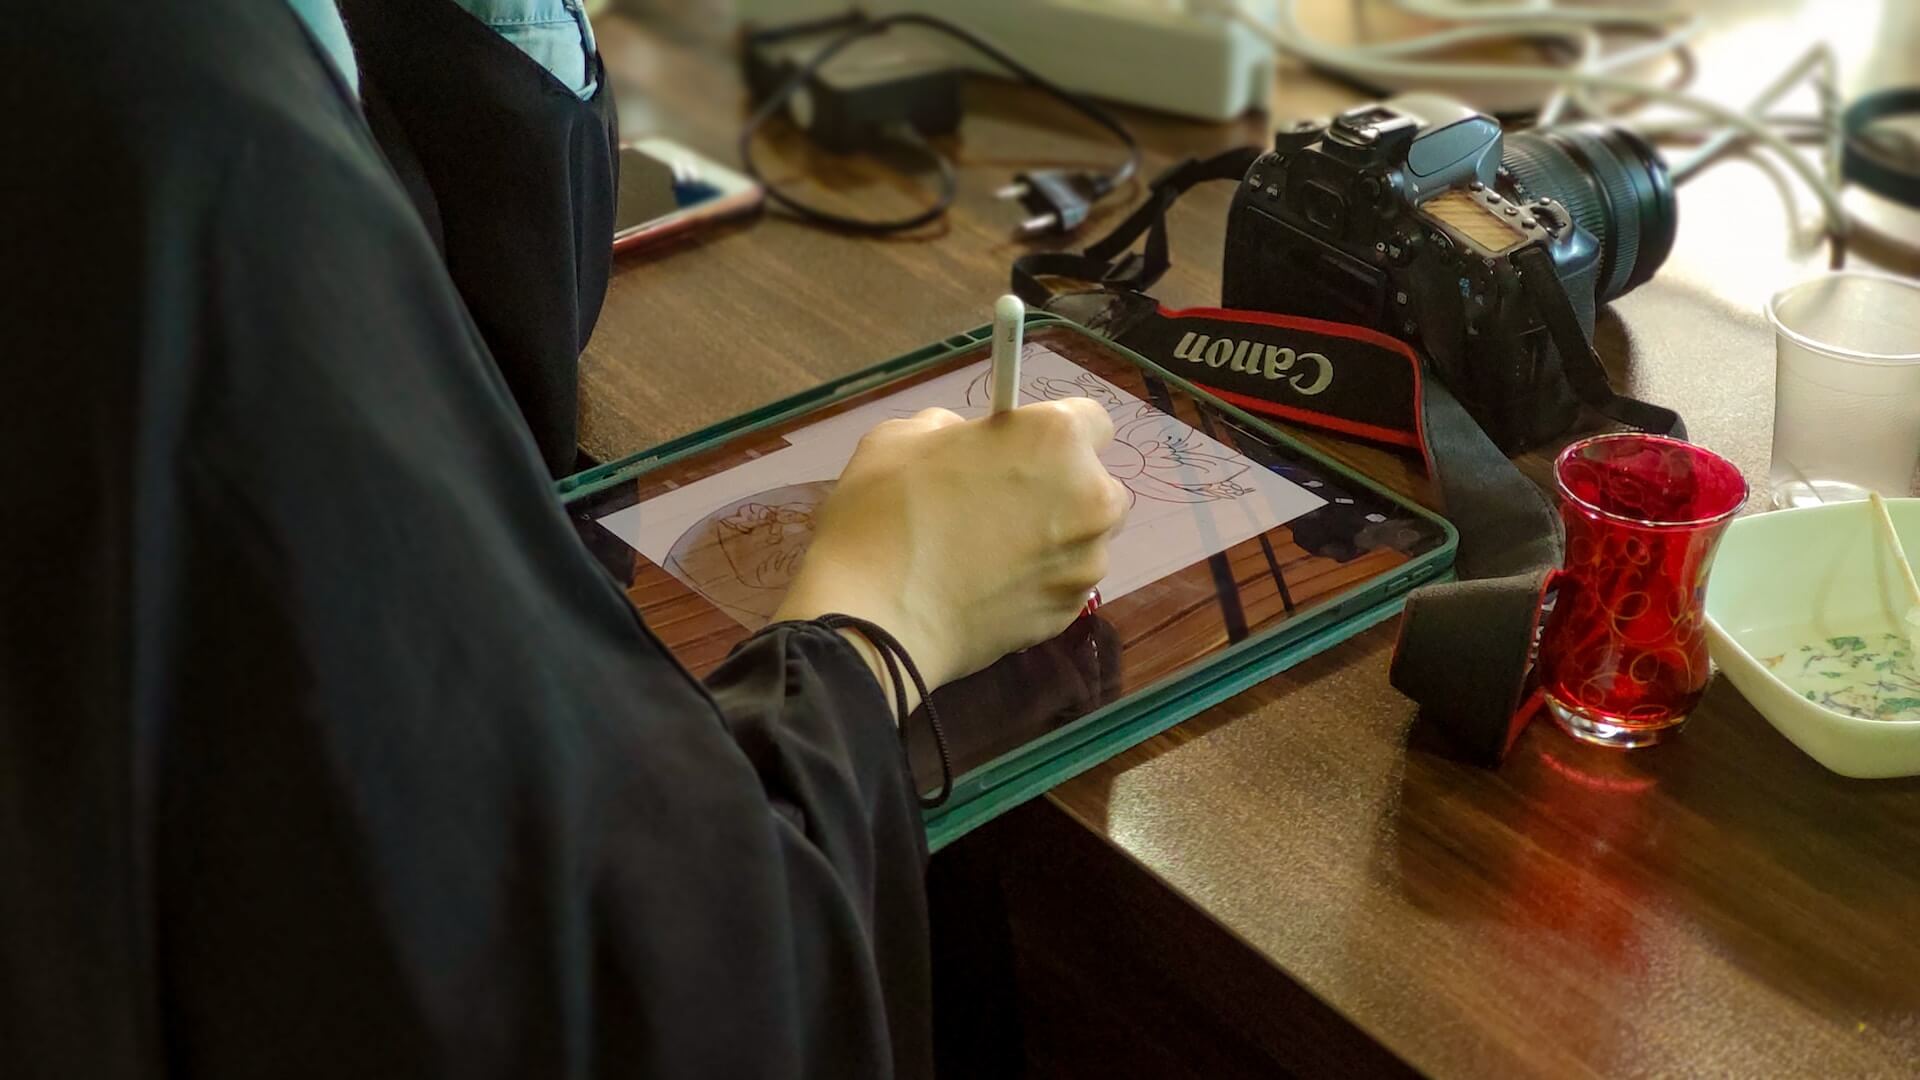
CHERRIES & DAISIES
STROKES WITH THE ROUND
AND FLAT BRUSHES

click on Image for larger picture & pattern

Pattern in PDF format
Instructions in PDF format
Instructions in Word
(for word file- click on line and "save to disk")


Written permission from Maureen McNaughton Arts Inc. must be obtained to teach this project, and may be granted upon request.
©1996-2010 Maureen McNaughton Arts Inc

MISCELLANEOUS SUPPLIES

DecoArt : Easy Float, Multi Purpose Sealer
Krylon: Krylon Indoor/Outdoor Satin Varnish Spray#41313
McNaughton Wet Palette and Wet Palette Paper
Misc: Sanding oval, tack cloth, light graphite paper, tracing paper, removable tape, stylus tool, pencil, eraser


McNAUGHTON BRUSHES
Round #4
Flat #6, #10
Pointed Philbert #4
Liner #0
Pro-Round Stippler #6
Mop #1
1” Basecoat Flat

PALETTE: DECOART ACRYLICS
NOTE : Make Maureen’s Extender with DecoArt Easy Float + distilled water 1:3. 

Add 1 drop of Maureen’s Extender to a 1" puddle of most DecoArt Colours, mix it in.

Extender dramatically increases the open time, and loosens the viscosity, thus eliminating any drag which would hinder strokework. Keep the colour on a wet palette, adding water under the paper as needed. Colours not requiring Maureen’s Extender because of their transparency, are marked with ☺(a happy face).
Colours requiring extra Maureen’s Extender due to their thick viscosity are marked with +

lv. - light value / mv. - middle value / dv. - dark value

Country Red
Napthol Red
Rookwood Red
Antique Maroon
Toffee +
Burnt Orange
Red Iron Oxide
Traditional Burnt Umber
Cadmium Yellow
Golden Straw
Traditional Raw Sienna
lv.Green; Olive Green + Antique Gold 3:1 +
Plantation Pine
Black Green
Light Buttermilk
French Grey Blue+
Lamp Black

SURFACE PREPARATION

Use the 1” flat to base coat the surface with Lamp Black. Trace on the pattern with light graphite Apply tape on each side of the brown border. Base coat this area with Rookwood Red. Then remove the tape

LOADING THE ROUND BRUSH

Wet the brush. Shake moisture from the ferrule and blot the bristles dry in soft paper towel. Pull colour out from the edge of the puddle with firm pressure to create a loading zone on the palette. Turn the brush over and repeat with firm pressure on the other side. Fill the entire length with colour for thebrush to open fully in the brush stroke. For smaller or thinner strokes, press even more firmly to thepalette so you do not pull too much loading colour into the brush. The loading zone should be very flat .

DOUBLE LOADING THE FLAT BRUSH

Dip the tip of the chisel in Maureen’s Extender and distribute through the length of the brush by stroking on the palette. Brush mix with a touch of the more transparent colour (this will be the first colour listed ) so you have a very sheer load of this colour through the brush. Then load half way across the brush in the same colour and the other half in the contrasting colour. Blend the two hues together in the middle of the brush by stroking both sides on the palette. For subsequent loadings just load half and half. But you can brush mix in a little extender whenever the brush feels dry or the two colours are not blending together as nicely.

BRUSH STROKES USED IN THIS PROJECT
ROUND BRUSH
Pressure Stroke
-Lay the brush firmly on the surface.
-Hesitate to allow the brush to open.
-Pull the brush in a straight path.
-Slightly taper the end of the stroke by releasing pressure.

Comma Stroke
COMMA STROKE
- Lay the brush firmly on the surface. Hesitate to allow the brush to open.
- Pull the brush in a straight or curved path while releasing pressure. Continue to pull and taper the stroke to a sharp point.
- When the brush relaxes back up to its point, pull out the tail, sweeping the bristles off the surface.
- In a straight stroke the brush will relax to a chisel rather than a point. Pivot the brush slightly between your fingers and slide on the chisel to form the tail of the stroke If it has returned to a chisel instead of a point, pivot it and slide on the chisel to form the tail

“S” STROKES
Put two of these strokes together for a perfect leaf. Hold the brush handle a little straighter for ease in doing the slight pivot action.
(Left handed painters please reverse the directions)
Left Stroke
-With the dark corner in the lead, slide on the chisel on a downwards diagonal to the left.
- Apply pressure while pivoting the brush in your fingers, moving the leading edge towards the right. -
- Relax back up on the chisel, which is now positioned vertically straight, and slide.

Right Stroke
- With the dark corner in the lead, push away by sliding on the chisel on an upward diagonal to the left.
- Apply pressure while pivoting the brush in your fingers, moving the leading edge back towards the right.
- Relax back up on the chisel, which is now positioned vertically straight, and slide .

RUFFLED VARIATION
This time as you do the Pivot “S” stroke, wiggle the chisel in and out while applying soft pressure

CIRCLE STROKE
This degree of pivot proves difficult when you find yourself at the end of your finger, but not the end of the stroke! Have the other hand at the ready to hold the brush while you reposition your fingers on the handle to complete the stroke.
Usually right handed folks do the stroke more easily in a clockwise direction. It is easier to finish the stroke towards yourself.
- Position the chisel with the light corner in the middle and the dark corner at 6:00 o’clock. Lay the brush down to the left.
- Watching the dark edge, pivot the brush clockwise, bringing it completely around to finish with the dark corner back at 6:00 or beyond.
- Lift the brush straight up and off the surface.

LET'S PAINT

FLOWER

1. PETALS
A. Load the 4 round in Traditional Raw Sienna. Form the rear layer of petals with straight pressure strokes pulled down from the outer tips to the flower center. Allow transparency.

B. Load the #4 round in Toffee. Form the three separated foreground petals with pressure strokes as before. Allow transparency.

C. Load the liner in Traditional Burnt Umber and pull lines out from the flower center on the dark petals.
         • Float Red Iron Oxide with the #10 flat on the lighter petals next to the flower center.


2. FLOWER CENTER

A. Use the #4 Philbert to loosely fill in the flower center with Burnt Orange.

B. Load the end of the dry #6 Pro-Round Stippler in Golden Straw, pounce out excess on dry paper towel.

• Lightly stipple a highlight along the edge of the center next to the petals. Do not wash out the brush, just swirl off excess colour on the paper towel.
• Very lightly stipple Cad.Yellow on the same edge. Clean brush thoroughly on the paper towel again.
• Pick up Traditional Burnt Umber and stipple this at the base of the centre, between the leaves.
• If there is no Burnt Orange showing between the yellow and the brown, apply it now with a light stipple.

C. Use the liner to dot the pollen out on the petals and on the outer edge of the centre.

• First use Traditional Burnt Umber
• Then follow with small dots of Light Buttermilk.

3. CHERRIES

A.. Double load the #6 flat in Napthol Red and Antique Maroon. Form each cherry with a circle stroke, dark to the outside. Apply two coats.

B. Brush Maureen’s Extender over the cherry with the #6 flat. Immediately brush Napthol Red in the center of the cherry with the #4 philbert.

• Soften the outer edges by pouncing with the side of the dry #1 mop. This should brighten the middle of the cherry.
• We’ll allow the cherries to dry while we do the leaves.

4. LEAVES

A. Double load the #10 flat in Plantation Pine and Lv.Green

• Form the leaves with 2 ruffled pivot S strokes pulled from the stem to the tip

B. Float Black Green next to the middle vein, on both sides of the leaf with the #10 flat.

C. Dampen the leaf with Maureen’s Extender with the #10 flat before applying the following highlight and tints. Then float the colour with the #6 flat as follows:

• Float    Lv.Green on the mid area of the leaf edge next to the flower. Also apply on the middle right edge of the leaves hanging down below the flowers.
• Float Red Iron Oxide on the lower edge of the left leaf.
• On remaining leaves float French Grey Blue on the left edge.

5. CHERRIES

A. Chalk a “U” shaped line where the stem enters the cherries on the middle and lower cherry.

• Float Traditional Burnt Umber inside the “U” with the #6 flat.

B. Dry brush the highlights in the middle of the cherries as follows:

• Load the tip of the dry #6 Pro Round Stippler with colour, then swirl off excess on dry paper towel. Very lightly sweep the bristle tips across the light center area of the cherry and build the colour very gradually.
• Start with Country Red.
• Wipe off excess red and repeat the process in a smaller area with Golden Straw.

C. Damped the area with Maureen’s Extender. Float a sliver of French Grey Blue on the lower edge of each cherry for the reflected light.

6. STEMS, VEINS, & TENDRILS

Do the following with the #0 liner:

A. Pull in the stems to the cherries with Plantation Pine.

B. Highlight the stems with a shorter line of Traditional Raw Sienna .

C. Pull in the center leaf vein with Traditional Raw Sienna.

D. Stroke in the tendrils with Traditional Raw Sienna.

7. "RIBBON" LINES AND COMMAS

Continue with the liner for the following:

A. Pull in the darker ribbon with the liner loaded in Rookwood Red.

B. Pull in the lighter ribbon with Traditional Raw Sienna.

C. Line the dark ribbon next to the light ribbon with a line of Lamp Black.

D. Load the #4 round in Traditional Raw Sienna and pull in all commas strokes within the group without reloading.

8. BORDER TREATMENT

Load the liner in thinned Lamp Black and pull in the waved lines

9. FINISH

In a well ventilated location wear a mask and spray with several coats of Krylon Indoor/Outdoor Satin Varnish Spray #41313

Copyright © 2006 Maureen McNaughton Arts Inc.